Disclosure: This post may contain affiliate links. I may earn a small commission at no extra cost to you, supporting my blog and content creation. Thank you!
For those of us who praise air dry clay for its ease of use and accessibility, we have another reason to celebrate this awesome sculpting medium: the options when it comes to decoration. The sheer variety of creative finishes available, makes it a large topic to discuss.
This article is intended as an introduction and source for inspiration rather than a how to (videos to come on this topic so sign up to my newsletter!). There are simply so many options that I won't get to.
Disclaimer: there are hundreds of air dry clays on the market and not all behave in the same way. When I refer to "air dry clay" I speak from my experience with lightweight artist clays (read about air dry clays for artists).

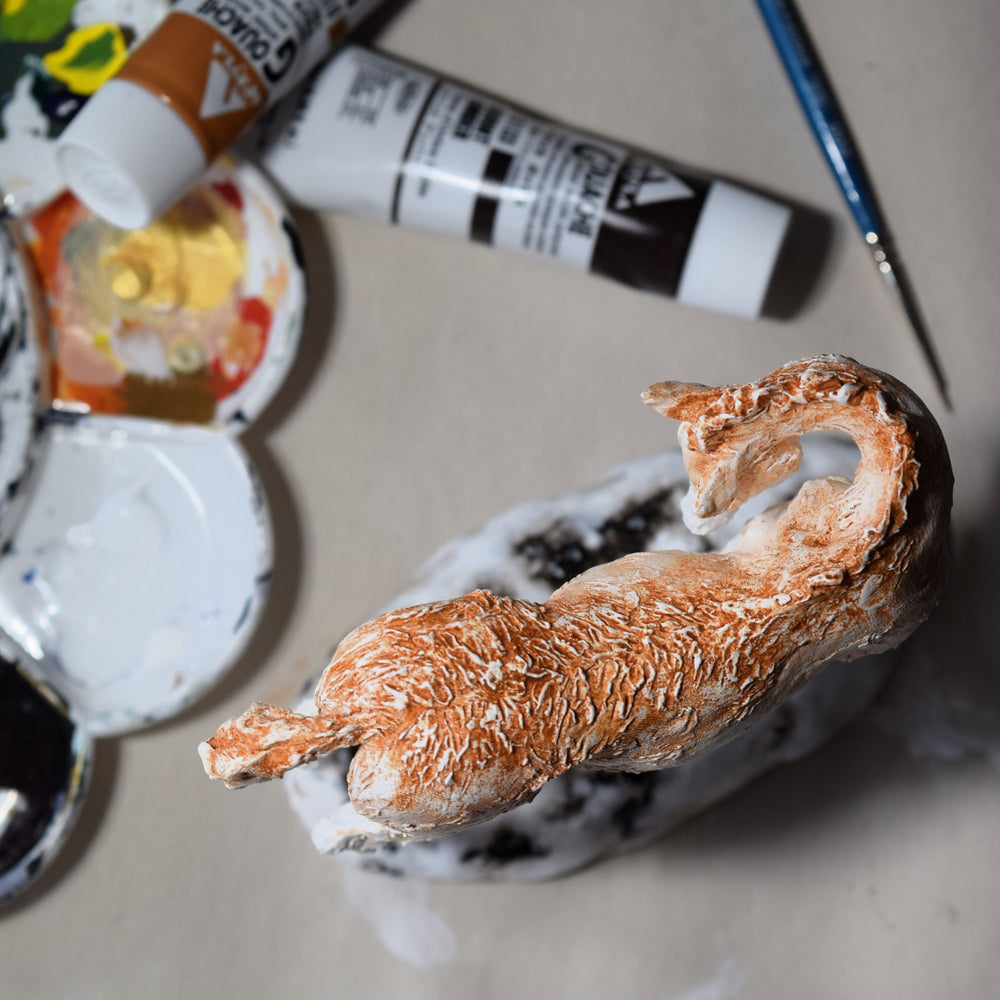
Paint can transform how a sculpture looks. This look was achieved through layers of acrylic paint.
Painting air dry clay sculpture
Painting is the most common way to decorate air dry clay sculpture. and acrylic is probably the most popular. It's no surprise why: it's inexpensive, quick-drying, and versatile. It's also forgiving because you can easily paint over mistakes. The paint is generally non-toxic and comes in thousands of colours.
The consistency of the paint can significantly impact the appearance. There are heavy-body acrylics that are thick and can show your brush marks (a cool way to add additional texture), all the way to fluid acrylics which are very liquid and glide on easily, penetrating into deep crevices. I use both depending on the effect I am aiming for.
Alternatively, you can modify whichever acrylic you have by using acrylic mediums to make the paint thicker, thinner, or even adding texture (like pumice). They are useful in expanding your range of acrylic paints. My favourite is Golden Soft Gel medium or Golden High Flow medium, but they come in a variety of consistencies.

This is an example of fluid acrylics: They go on very smoothly.
Acrylic aside, watercolour is also a popular decorative medium for air dry clay art. Watercolour can create lovely soft transitions and effects, but it should also be sealed as it is not as durable as acrylic. If you are after watercolour effects with the stability of acrylic, check out Holbein's Acryla Gouache paints. They are water soluble for longer than standard acrylics, and dry to a lovely matte finish. An example is the cover image for this blog post.
Before applying paint, it is advisable to apply a layer or two of gesso or primer. You don't have to, but I do. Read about why here.
Colour your clay
Another option to painting your air dry clay sculpture, is to pre-tint your clay. Mix acrylic paint directly into the clay while you sculpt. While the colour will never be as vibrant as if applied directly, you can create cool marble-type effects if you don’t mix it completely. Note: the acrylic will cause the clay to dry faster, so be aware if you add a lot of paint.
Pigment powders
A very different decorating option is the use of dry brushing pigments or powder pastels onto the surface. This technique is used by some model horse painters to achieve incredibly soft and natural-looking colour gradations. The process is to use a fixative spayed onto the surface. This creates a hold for the powder. Loose powder is then brushed over the surface. Once that layer is done, another layer of fixative is added and another layer of powder is put down. Once done, the whole thing has to be sealed with varnish to ensure nothing affects the finish. It is a painstaking process. I have used it on sculptures in the past and really loved the effects, but it is very messy, as loose pigments fly everywhere, including up your nose if you're not wearing a mask :P

An example of pigment powders - this is layers of black pigment, some of which have been wiped back. Note: the paper flower is painted.
The final touch
Varnishing your sculpture helps to protect it from dust and UV rays. Available, in both liquid and spray form, they come in gloss, satin, and matte finishes. Applying varnish with a brush means that you can choose a water-based one with less toxicity. Spray versions on the other hand need to be done outside with a mask to prevent inhaling the fumes, and require practice to avoid drips.
My Decorating technique
While each sculpture is different, this is my general approach to decorating air dry clay:
- Ensure sculpture is fully dry (how can you tell?).
- Prime sculpture using gesso. Let dry for a couple of hours .
- Paint using acrylics.
- Let paint dry. Depending on how thick I am applying, it can be several days.
- Varnish, and let dry (at least a couple of days).
Notice that there is lots of drying time built in. This is key. As those of you may know from my previous advice - success with air dry clay is about patience! :)
 This piece used wire and real leather elements to bring it to life. The metallic gold paint helped to make the details pop.
In addition to paint, you can integrate other decorative approaches to your work. This can include: attaching objects to your sculpture (such as paper flowers), or utilizing resin hardeners to add fabric to your sculpture in a more permanent way. Even something as simple as adding gold leaf (imitation or real) can elevate your work. Air dry clay sculpture is about experimentation, so step outside the traditional approach and use materials in new ways.
Do you have a cool way of decorating your air dry clay sculptures? I'd love to hear from you: hello@susiebenes.com.
What's Next?
Why should you varnish air dry clay sculpture?
Discover the magic of sculpting from home