Disclosure: This post contains some affiliate links. I may earn a small commission at no extra cost to you, supporting my blog and content creation. Thank you!
---
Quite often I receive inquiries are about how to repair cracks or breaks in air dry clay sculptures. To address this, I've put together this definitive guide to help you navigate the process of repairing your beloved clay creations. Be prepared for a few questions along the way because understanding the underlying issue is crucial. Sculpture is different from painting; you've engineered a structure, and many cracks or breaks can be the result of a poor foundation (like your armature).
Note that I make a distinction between cracks and breaks as I see them as 2 different things. Breaks are usually the result of some sort of trauma (for example a fall) while cracks are caused within the sculpture itself.
Before We Dive In: A Quick Word on Air Dry Clay
Whenever someone asks me, “how do I fix my air dry clay sculpture?”, the first question out of my mouth is “which air dry clay are you using?" There are hundreds of types of air dry clay and they can have drastically different compositions and responds to circumstances very differently. The tips I’ll use here refer to some of my preferred air dry clays: Creative Paperclay and/or Padico Premier (Read my post about the best air dry clays for artists). These are two brands I know well and have used for years. I can't vouch for how other clay types will react or hold up, so a little caution might save you some heartache later. Consider testing these solutions in a small, inconspicuous area if you're venturing into the unknown clay territory.
Now, let's get to the nitty-gritty of fixing cracks in air dry clay sculptures. First, we need to figure out what caused them:

Why is it Cracking: Clay Drying or Armature Shifting?
Sometimes it's the clay drying out, but other times it's like a structural shift in your sculpture's foundation. Yeah, I'm talking about the armature here, folks. If your armature isn't sturdy, your clay masterpiece could be in for a bumpy ride. Remember, a solid foundation can save you from a lot of headaches down the line.
If the cracks are the result of the clay shrinking or expanding, you want to make sure your air dry clay sculpture is fully dry before proceeding with repairs.
Fixing Cracks in Unpainted Sculptures
If your sculpture is still in the clay-building stage and it's getting cracks this is the best time to fix it, before you have any decorations. If it's a structural hiccup during the clay application, consider slicing away some clay, then, reinforce the armature or the problem area with epoxy clay or additional armature materials.
If you find that the underlying armature is compromised and won’t be able to hold up what amount of clay you’re hoping to put on it, it might be best to cut your loses and make a new sculpture. You wouldn’t build a house on a faulty foundation, the same goes for sculpture.
Surface cracks on the other hand are normal: when clay dries it shrinks as it loses water and can cause tension cracks. Simply fill 'em up with fresh clay and let it dry. Just a heads-up: make sure your sculpture is bone-dry before you even think about picking up that paintbrush.
Cracks in Painted Sculptures?
Now, if you're dealing with cracks (not breaks) in a painted sculpture, especially if they pop up after the painting's done, it's likely a structural issue. In air dry clay, this means there might be something shifty happening in the underlying structure (yup, the armature, again). These cracks might not be fixable as the issue is with the foundation of the sculpture.
If your sculpture is still holding it together at the crack site and you just want to fill the hole, you can try filling it with glue. I've got a comprehensive blog post all about different types of glue and their superpowers (link at the bottom of this article), so feel free to dive into that. The goal here is to beef it up and prevent any more movement in the area.

Fixing Breaks in Air Dry Clay Sculptures
Now, let's talk about the big breaks. Did your sculpture take a tumble, maybe thanks to an overenthusiastic cleaning lady or a curious art-loving cat? No worries, there's hope. I've noticed two main types of breaks: the first involves extremities (things sticking out from the main body, like ears) and ones that involve more structural parts where the armature wire is doing its thing.
Re-attaching ears and other clean-break extremities
For clean breaks, like detached ears or other parts, super glue (the one that sets in 90 seconds) is your best friend. It might make a brittle bond, but trust me, it's super strong, especially for smaller fixes. Plus, it dries in a flash, which is a lifesaver when you're dealing with tiny pieces. If you've got larger pieces like legs that decided to take a break (and you didn't use an armature, shame on you), super glue can still do the trick. But here's the secret sauce: don't go overboard with the glue. A little dab will do, and then press that piece firmly for about 30 seconds to a minute until the glue sets. Too much glue will prevent it from setting, and it won’t hold.
For beefier breaks with weighty items, epoxy glue might be the way to go. Just be prepared to wait because epoxy glue can take its sweet time to set (read: hours). This means you might have to find creative ways to hold items. My go to? Using a container filled with uncooked rice to hold things in the position I need.
Case Study: Fixing a Damaged Air Dry Clay Sculpture
I've got a story for you, a real-life case study if you will. A client once returned a commissioned piece to me for repairs after it took a nosedive onto a metal grate from the top of a fireplace. A fall like that would've shattered a ceramic sculpture into tiny pieces. But this sculpture, made from Creative Paperclay and epoxy, had a bent leg and a broken ear. Both of which, believe it or not, were fixable.

Here's how I tackled that leg:
- I carefully removed the damaged and cracked clay at the leg break site to expose the wire and epoxy clay core. You can see the yellow epoxy in the top image.
- I positioned the leg and filled the entire cut-away area with epoxy clay, shaping it to match the rest of the leg.
- After letting it cure, I painted and varnished it. Good as new!
A big part of fixing cracks and breaks in air dry clay sculptures is playing detective to figure out what's really going on. And remember, it's not just about fixing; it's also about preventing future mishaps. So, roll up those sleeves, get your detective hat on, and let's save some sculptures!
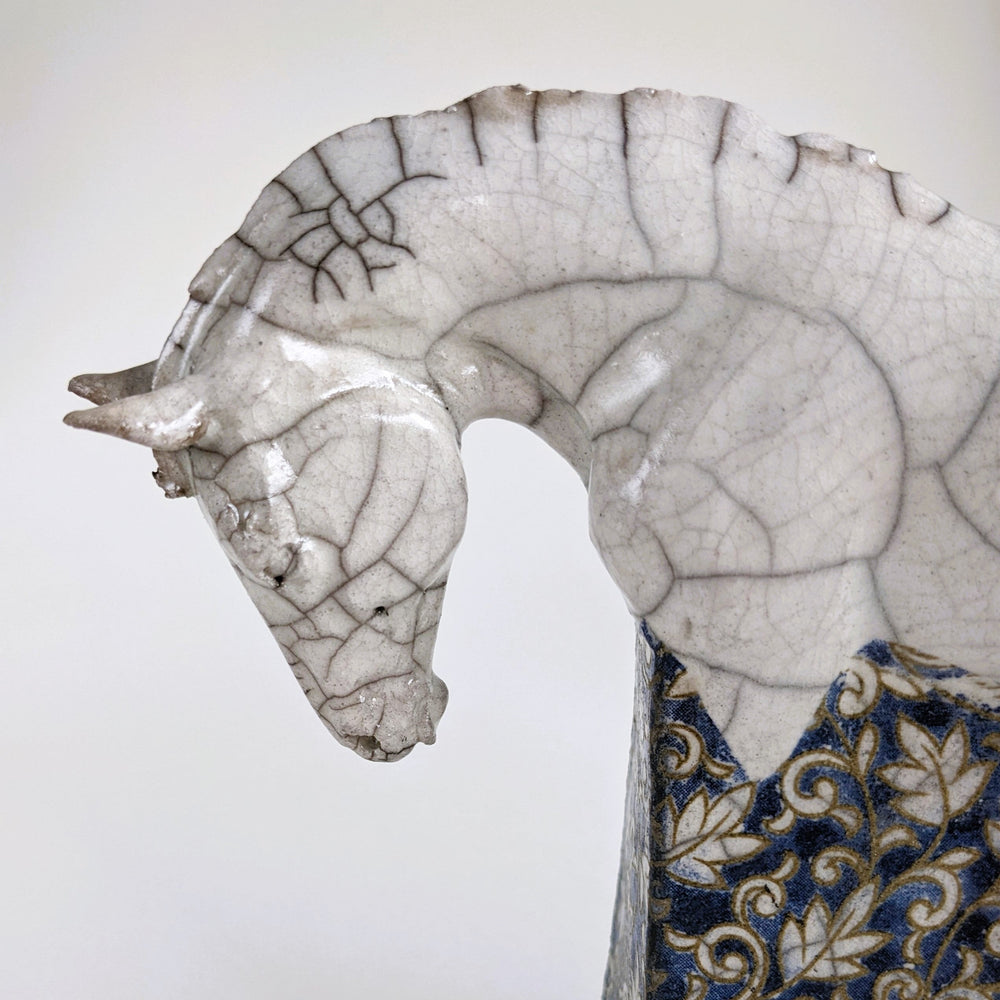
Note: the cover image for this blog post is actually a ceramic piece with a glaze that deliberately cracks for this special effect.
What's Next?
What goes into making a strong armature?
Discover a sticky solution in the best glues for air dry clay art