Disclosure: This post contains some affiliate links. I may earn a small commission at no extra cost to you, supporting my blog and content creation. Thank you!
---
In a previous post, I discussed the reasons why I varnish my air dry clay sculptures, the types of finishes available and my preferred brands. Now, I want to delve into the actual process of applying varnish to air dry clay art. By following the tips below, you can achieve a stunning finish that not only enhances the appearance of your sculpture but also protects it for years to come.
When to Varnish: Patience is Key
As I've mentioned before, patience is an essential tool for sculpting with air dry clay, and the same holds true for surface decoration. Your paint must be fully dry before applying varnish to prevent unwanted smudging or blending of colours.
Drying time varies depending on the mediums you use. Oil paint can take months to dry, especially if applied in thick layers. I typically use acrylic paint because it dries quickly (a major perk). After painting, I let the piece cure for at least 24 hours before varnishing, sometimes longer for thicker layers or if I have used lots of acrylic mediums.
Before varnishing, dust off any sculptures that have been sitting for a while with a soft brush to remove fluff and debris from the surface. You don't want that to ruin your finish.

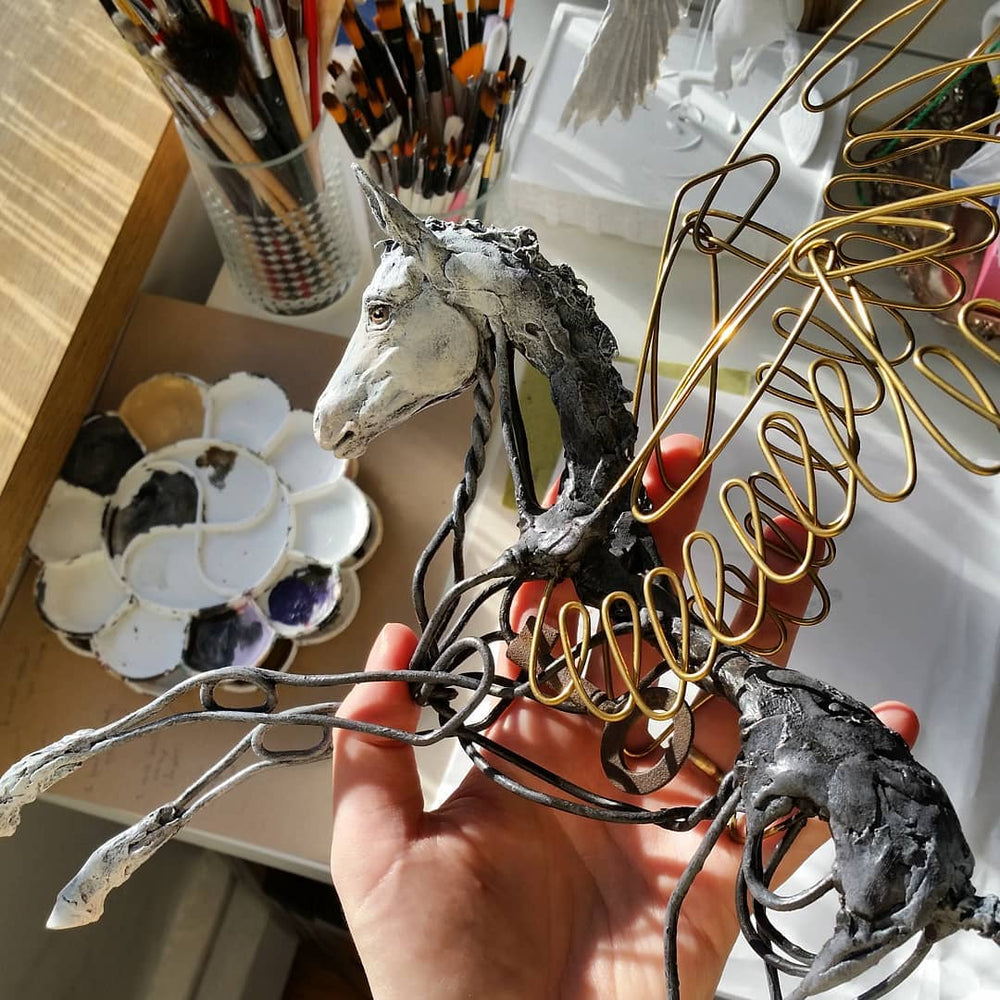
This sculpture was varnished using brush-on matte varnish.
Permanent vs Removable Varnishes: Which One to Choose?
Before diving into the application process, let's explore the two main types of varnishes: permanent and removable.
Permanent Varnishes
Permanent varnishes are typically made from acrylic polymer and are non-removable. They are most suitable for acrylics (keeping in mind that oil can be applied over acrylics, but not the other way around). High-quality permanent varnishes offer durability, chemical resistance, water resistance, and protection against discoloration (yellowing and non-fogging). They also create a flexible surface since they are acrylic themselves.
A significant advantage of permanent varnishes is that they are usually water-based, eliminating the need for smelly solvents and making them more environmentally friendly. They can withstand humidity, heat, and ultraviolet light, and depending on the substrate, they allow moisture to pass through. The Liquitex Brush-On varnishes I use belong in this category.
Removable Varnishes
Removable varnishes, on the other hand, are typically solvent-based and can be periodically removed to eliminate trapped surface dirt without damaging the paint underneath. Like permanent varnishes, removable varnishes are durable, non-yellowing, flexible, and translucent when wet, turning transparent once dry. They won't crack as your surface expands and contracts during temperature and humidity changes, ensuring a long-lasting, pristine finish. The Golden MSA spray varnish I use falls into this category.
Now that you have a better understanding of the different types of varnishes, you can make an informed decision about which one suits your needs best. Keep in mind the specific characteristics and benefits of each type when making your choice.
Spray or Brush-On Varnish?
I've experimented with both spray and brush-on varnishes, and each has its benefits. I used to rely heavily on spray-on varnish, but due to the fumes, it must be applied outdoors, which isn't always feasible. As a result, I now primarily use permanent brush-on varnish.
Brush-on varnish offers the advantage of mixing different finishes to create custom sheen levels. I frequently do this, as I prefer a more matte appearance without being completely flat.
Sometimes your medium will decide for you which varnish type is best suited for you. For surface decorations like loose pigments, opt for a spray varnish to avoid smudging or displacement.
Technique for Brushing On Varnish 🖌️
- Wait until your artwork is completely dry.
- Choose a dust free area to work in, and ensure your work is clean.
- Use a flat, wide, and soft brush for varnishing. Keep it clean and designate it solely for varnishing purposes.
- Stir the varnish well and pour it into a clean, container (I like washed yogurt or apple sauce containers myself).
- Load your brush, then wipe it on the side of the container to prevent dripping. Apply one to three thin coats of varnish, rather than a single thick coat.
- Let dry.
Varnishing Tips and Tricks
Avoid shaking brush-on varnish, as this can create tiny bubbles that mar the final finish. Instead, roll the bottle back and forth on a table, or mix gently with a brush and let it sit for a bit to eliminate any bubbles.
If you miss any spots, allow the piece to dry completely before re-varnishing, otherwise you risk making marks in any semi-dry portions.
To shield your work from dust while drying, cover it with a protective plastic film or "tent." This is particularly useful if you share your workspace with furry friends.
Allow the varnish to dry for 24 hours. If a second coat is needed, apply it at a right angle to the first to minimize visible brush strokes.
Varnishing Ceramic Art
Varnish can also be applied to ceramic pieces when using cold finishes (non-fired decorations), such as decorations. Applying varnish to ceramics will protect and enhance the decorative elements.

I used spray-on varnish for this sculpture due to the use of loose pigment. Notice the gold-coloured circle on the bridle - that is varnished in high gloss brush on-varnish.
Whether you're a seasoned artist or new to the world of clay sculpting, mastering the art of varnishing will not only protect and enhance your creations but also elevate your craftsmanship. Embrace these valuable insights and watch your artistic endeavors flourish, as you bring your air dry clay masterpieces to life with impeccable finishes.
What's Next?
Create your own sculpture from air dry clay
Learn why it's important to prime your air dry clay sculptures